


The beauty of the Kompo SmartStor system is the click-lock assembly. This clever system allows you to assemble the racking in a matter of minutes without needing any other tools. To disassemble, use the quick turn tool that is included.
The ever-growing range of racks, shelves, holders, dispensers, bins, lockers that all fit together with the unique click-lock system create the most versatile combination of storage components to improve and complement any workshop.
Assembly of the Kompo SmartStor racking can be done in a matter of steps:
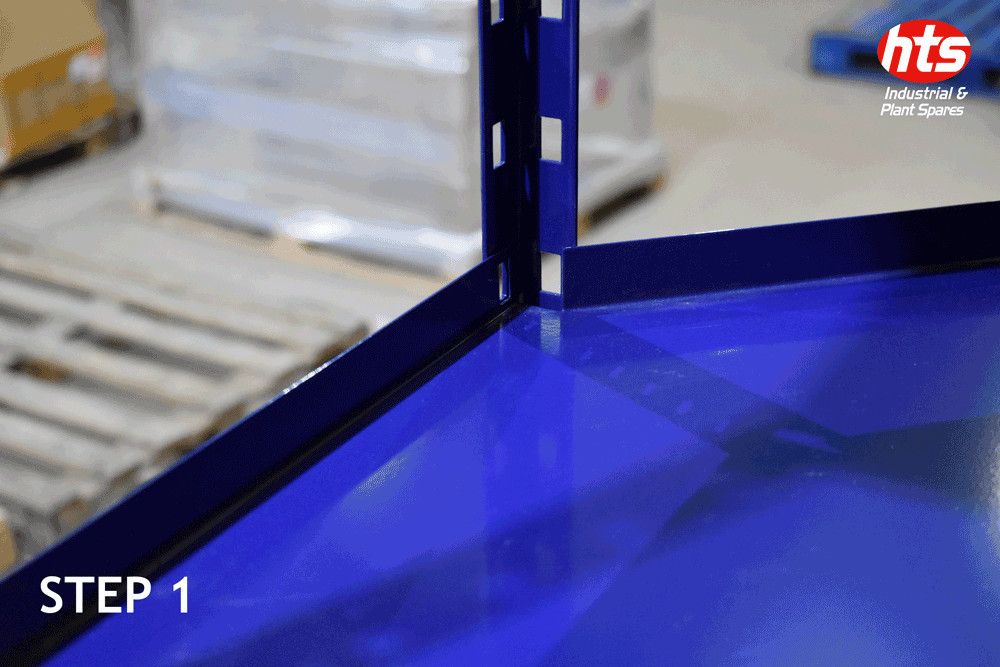
Step 1:
Take your Kompo baseframe (HRS0100) and preferred shelf. Align the holes in the baseframe and the holes in the shelf.
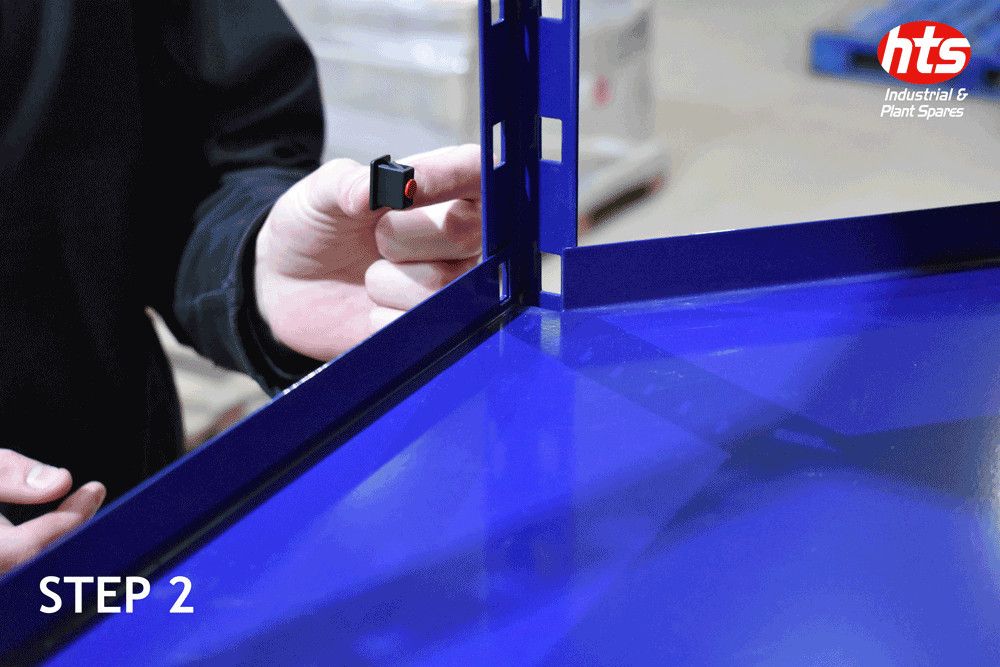
Step 2:
Get your fixing block ready to insert into the fixing slots on the baseframe.
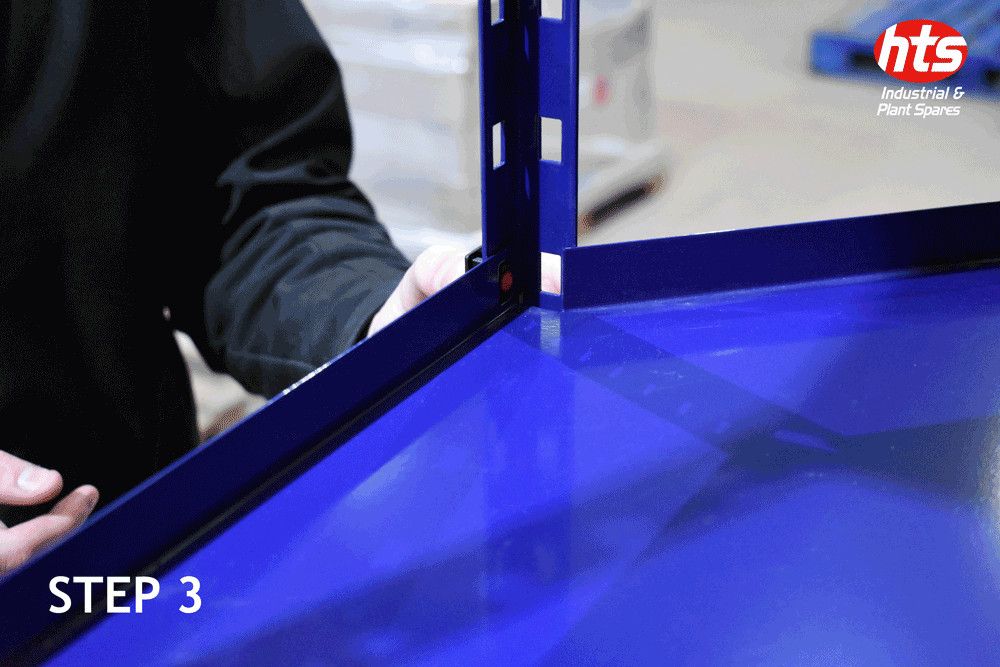
Step 3:
Ensure the shelf and baseframe holes are all aligned and align the fixing block.
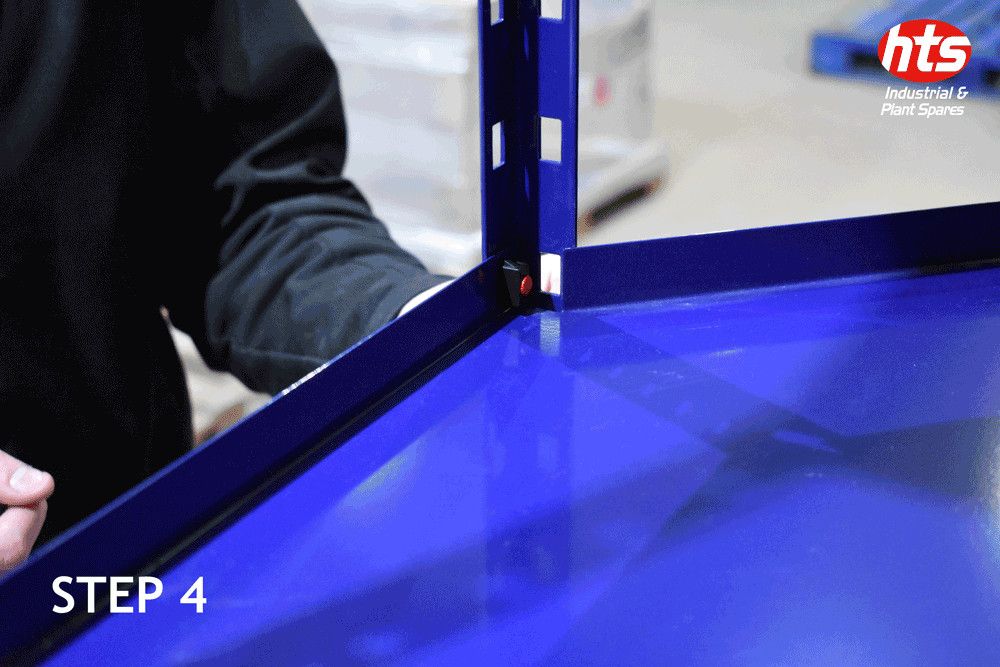
Step 4:
Push your fixing block through both the frame and shelf until the two lugs on the block spring open and the block is locked into place.
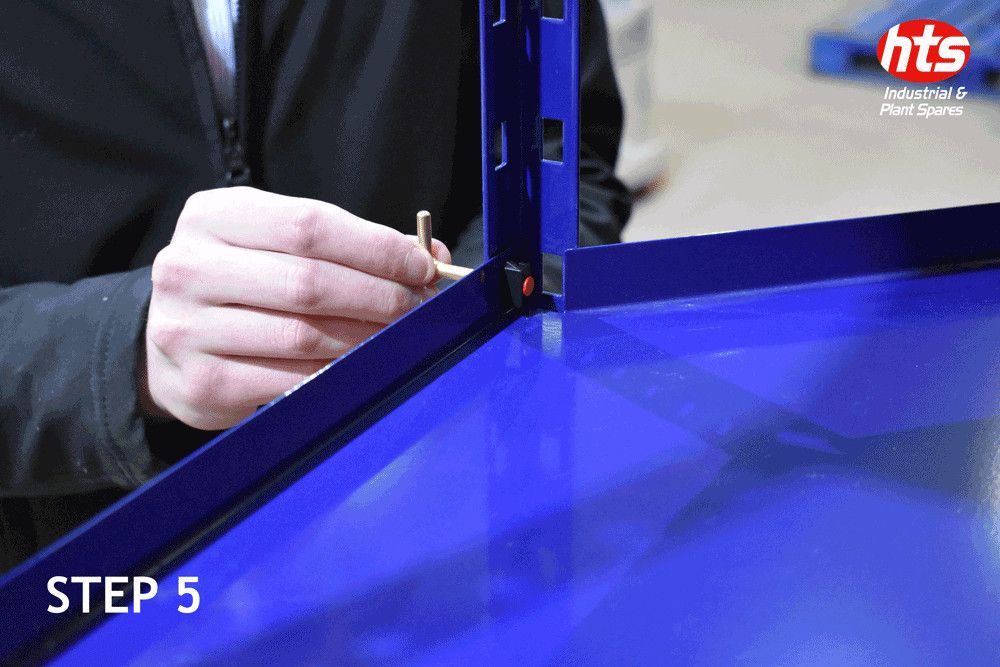
Step 5:
To remove the fixing block, use the quick turn tool included with the racking and place it into the back of the fixing block.
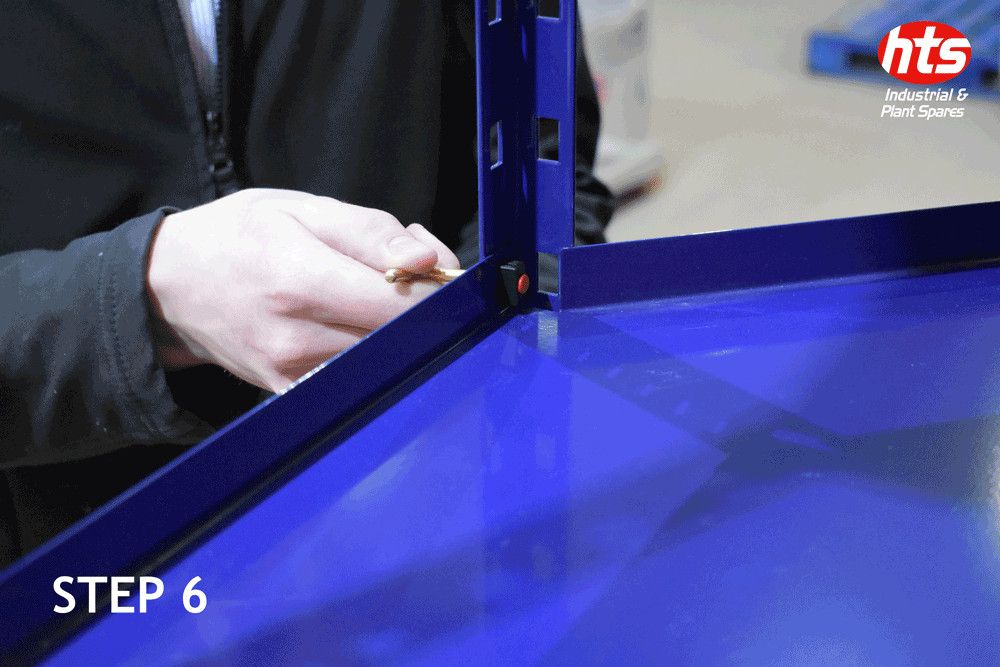
Step 6:
Once the tool is positioned in the back of the fixing block, twist it to unlock it.
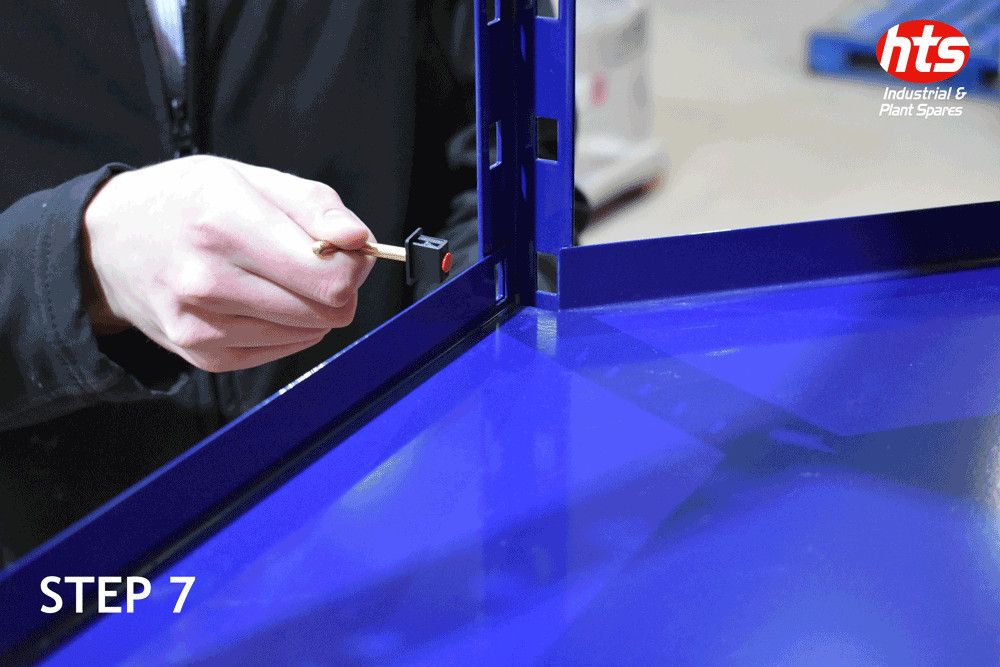
Step 7:
Finally, once the fixing block is unlocked, simply pull it from the base frame to remove it.